
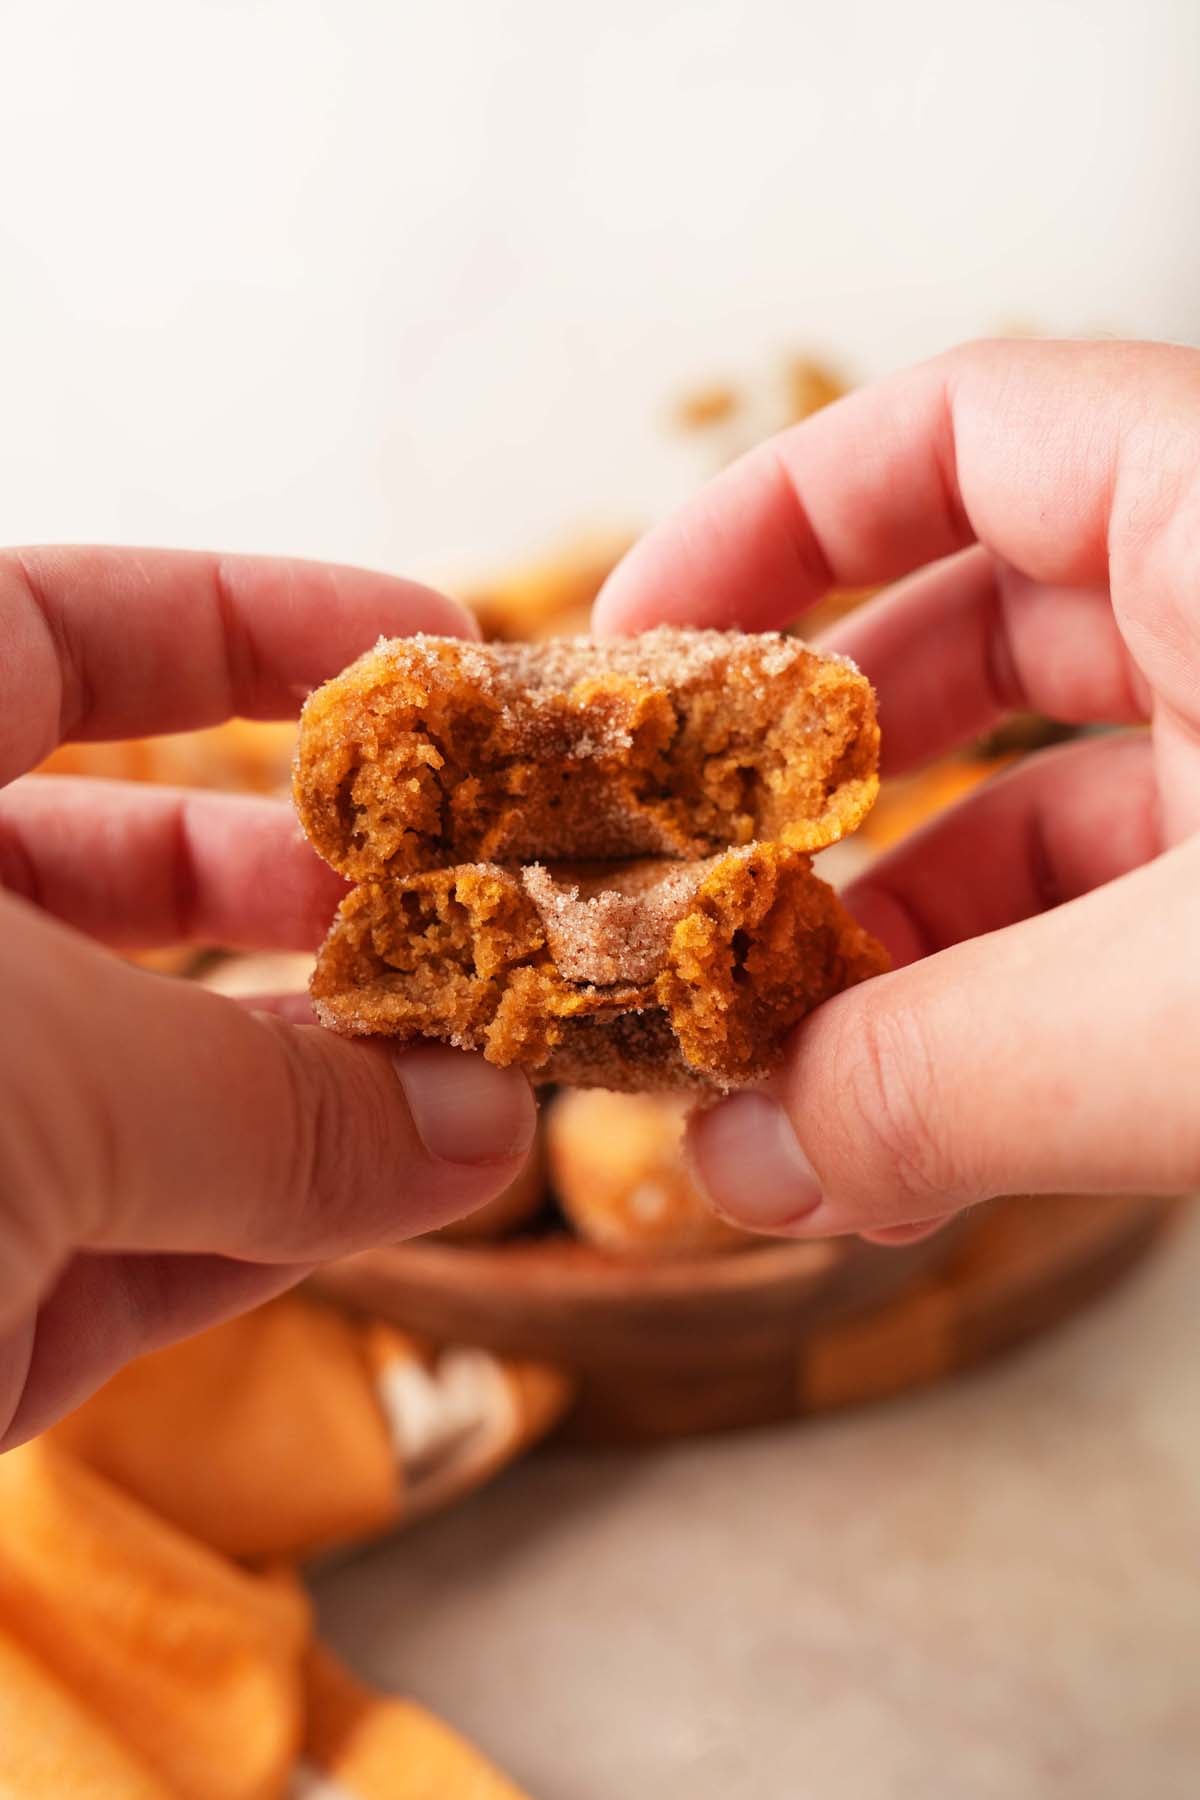
If you love the warm spices, moist crumb, and cozy flavor of bakery-style pumpkin treats, you are going to fall head over heels for these Baked Pumpkin Donuts. Adapted from our favorite jumbo pumpkin muffin recipe, this version delivers all that rich, spiced pumpkin flavor—minus the deep fryer!
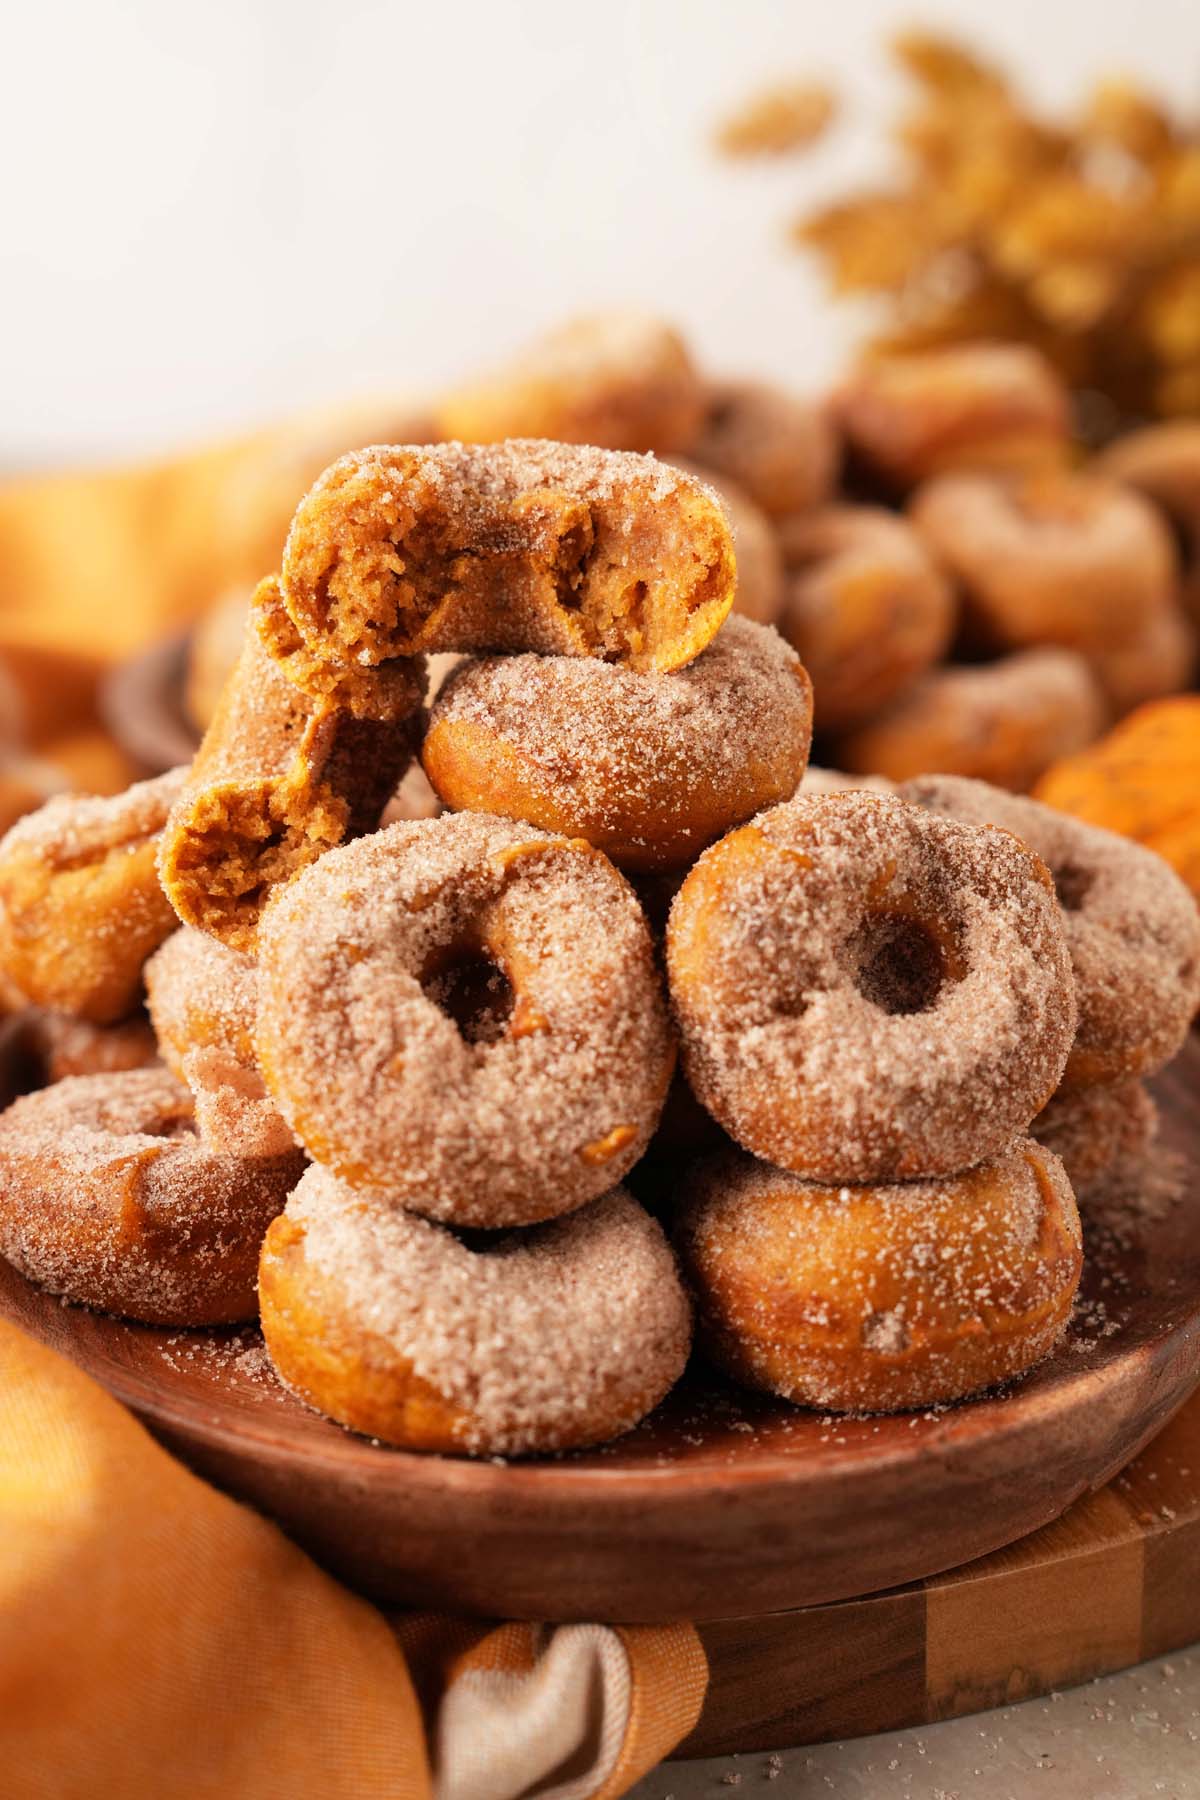
Whether you use a standard donut pan in the oven or an electric donut maker with a tablespoon-sized cookie scoop, you’ll get a batch of perfectly spiced, fluffy donuts in minutes.
Why You’ll Love This Recipe
- Incredible Spices: Packed with pumpkin spice and extra nutmeg for that authentic autumn bakery taste.
- Super Moist: Using oil and 100% pure canned pumpkin keeps these donuts wonderfully soft and cakey.
- Uses a Whole Can of Pumpkin: Far too many recipes use just a cup of canned pumpkin, but this one uses all 15 ounces.
- Flexible Baking Options: Bake them easily in your oven using a donut pan or whip them up quickly in an electric donut maker!
- Easy Portioning: A tablespoon-sized cookie scoop makes filling your electric donut maker or donut pan mess-free and uniform.
Pro Tips for Electric Donut Maker Success
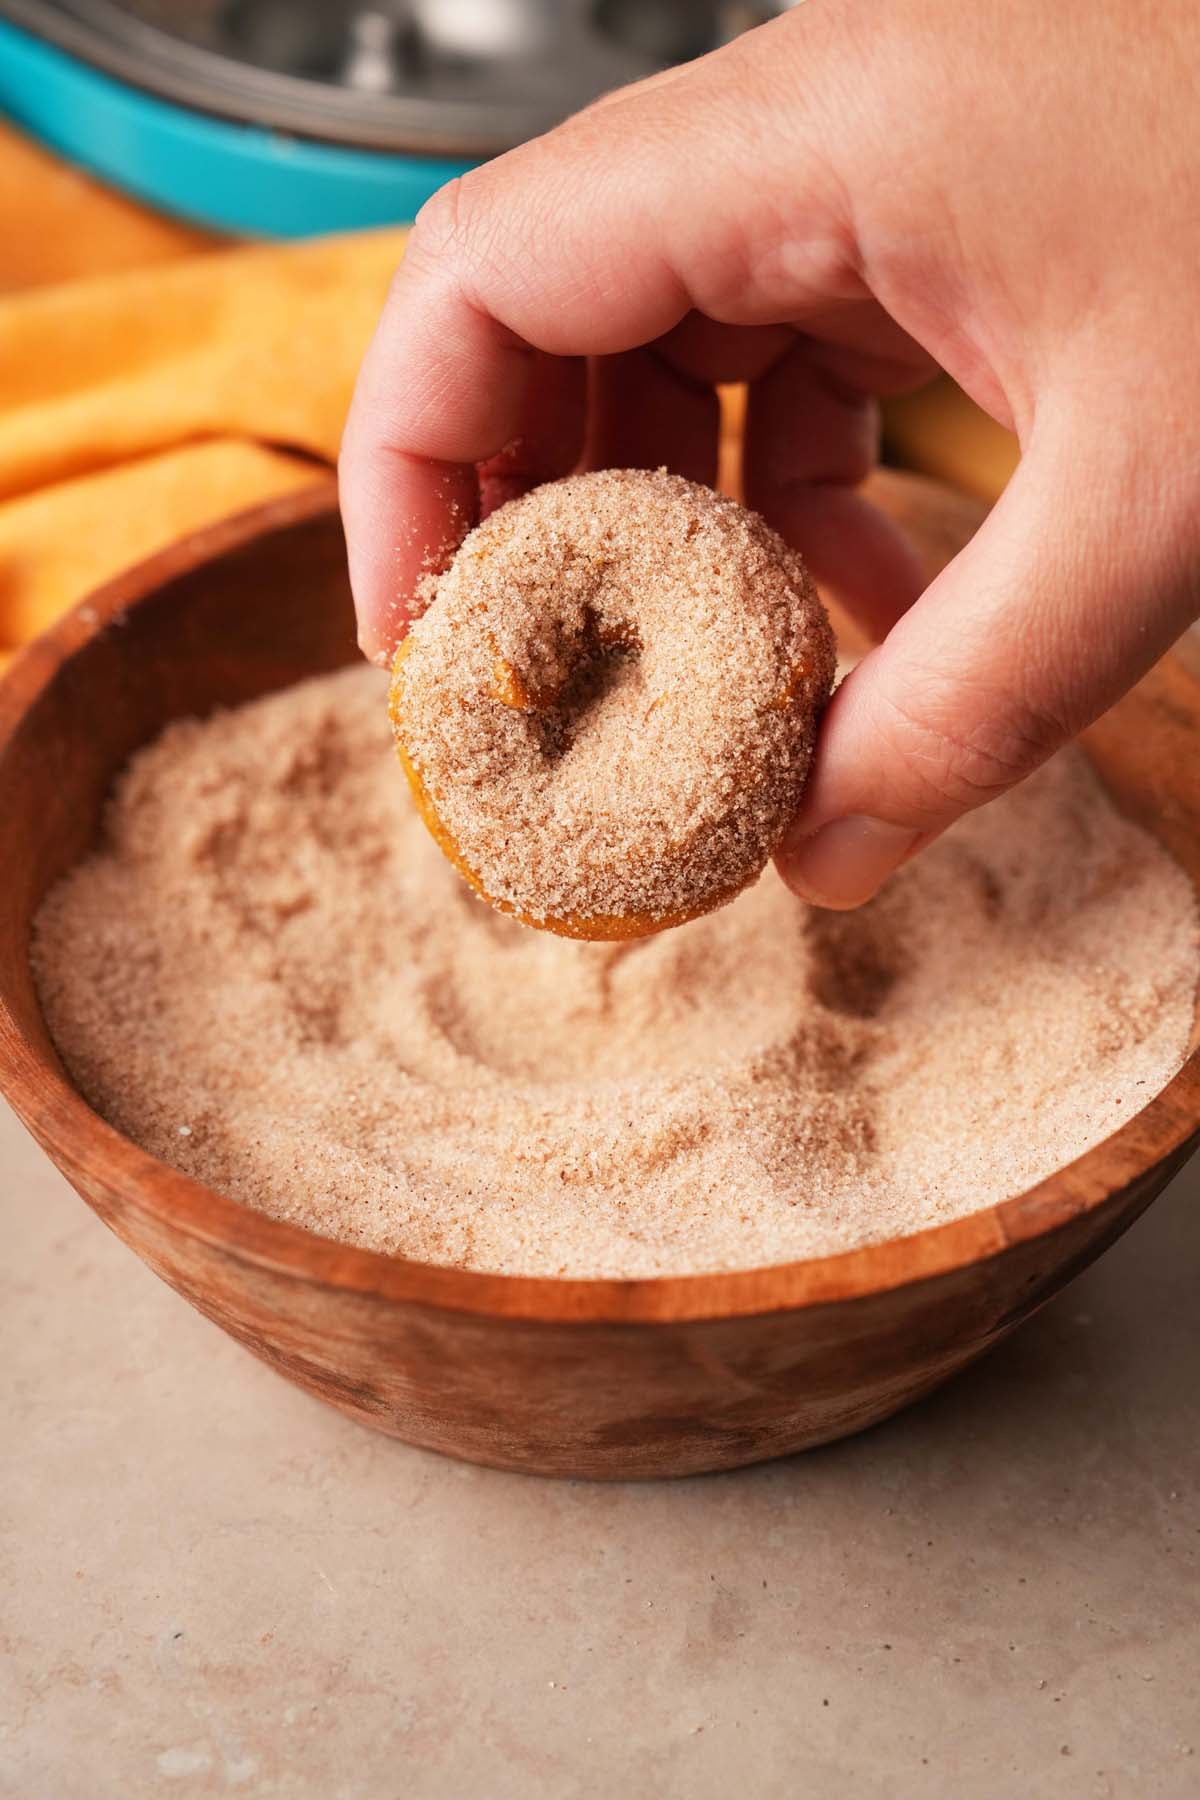
- The Scoop Method: Using a tablespoon-sized cookie scoop is the ultimate shortcut for filling electric donut maker wells cleanly. One to two rounded scoops per well fills them without spilling over the center hole.
- Use Room Temperature Eggs: They mix smoothly into the batter and help trap air so your donuts bake up light and fluffy.
- Don’t Overmix: Stir the batter only until the flour disappears to avoid dense donuts.
- Lightly Grease Every Batch: Even with non-stick makers, a quick mist or brush of oil before each round ensures the donuts release effortlessly.
If your electric donut maker is a mini donut maker, you are in luck! This recipe is easy to adapt for smaller machines. Because mini donut makers typically churn out about 6 to 12 tiny treats per batch (depending on the specific model’s plate size), here is what you need to know:
- Yield: Instead of 6 standard donuts, this full batter recipe will yield a much larger batch of mini donuts—usually around 24 to 30 mini donuts total.
- Baking Time: Mini donuts cook much faster than standard-sized ones! Keep a close eye on them and bake for only 2 to 4 minutes per batch until they spring back when gently pressed.
- Scooping: Your tablespoon-sized cookie scoop is still the absolute best tool for the job. One small scoop of batter per mini cavity is usually the sweet spot—just be careful not to overfill them, or the center holes will close up when they rise!
Important Note: Enjoy Cinnamon Sugar Fresh!
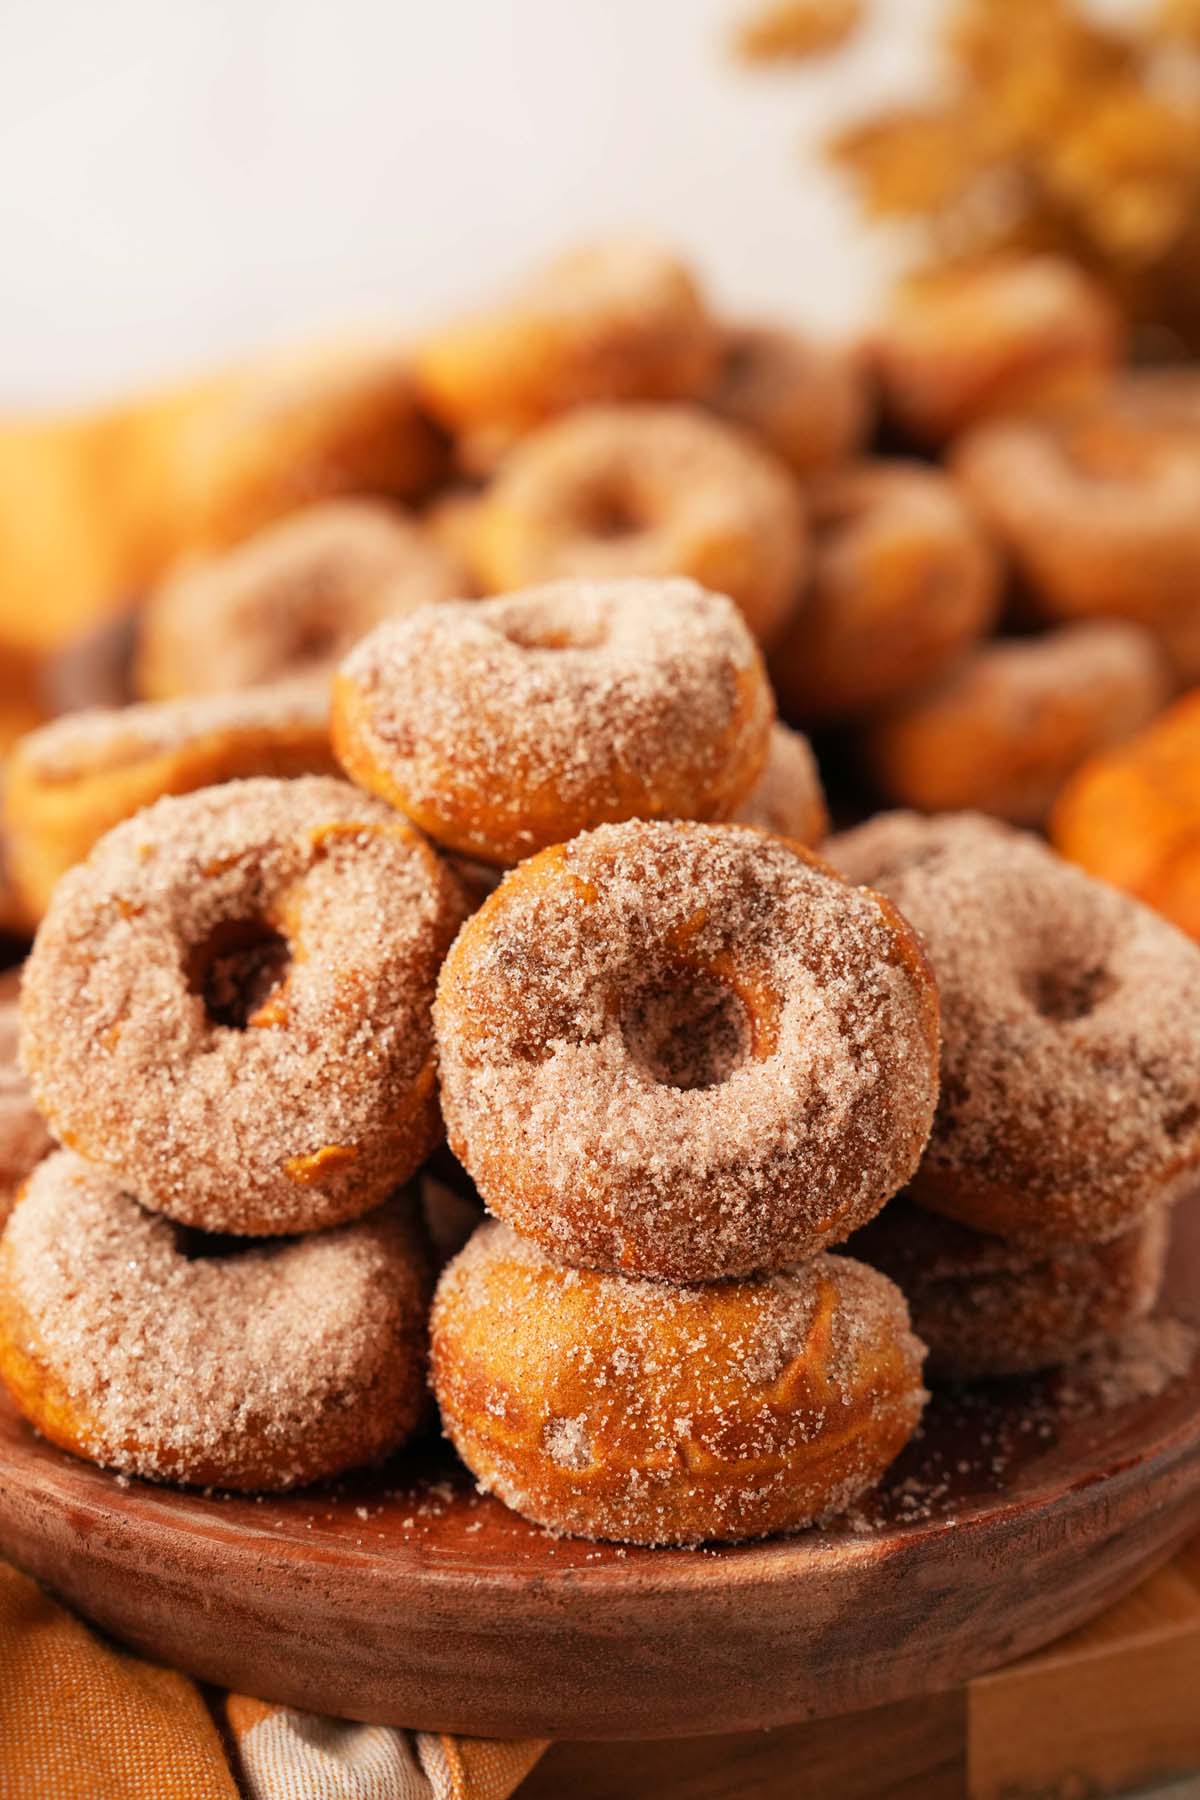
Best Eaten the Same Day: If you coat your baked pumpkin donuts in cinnamon sugar, they are best enjoyed the exact same day. Over time, natural moisture from the cake causes the sugar coating to dissolve and melt, turning the crisp outer layer sticky. If you want to save some for later, leave them uncoated or use the vanilla glaze instead!
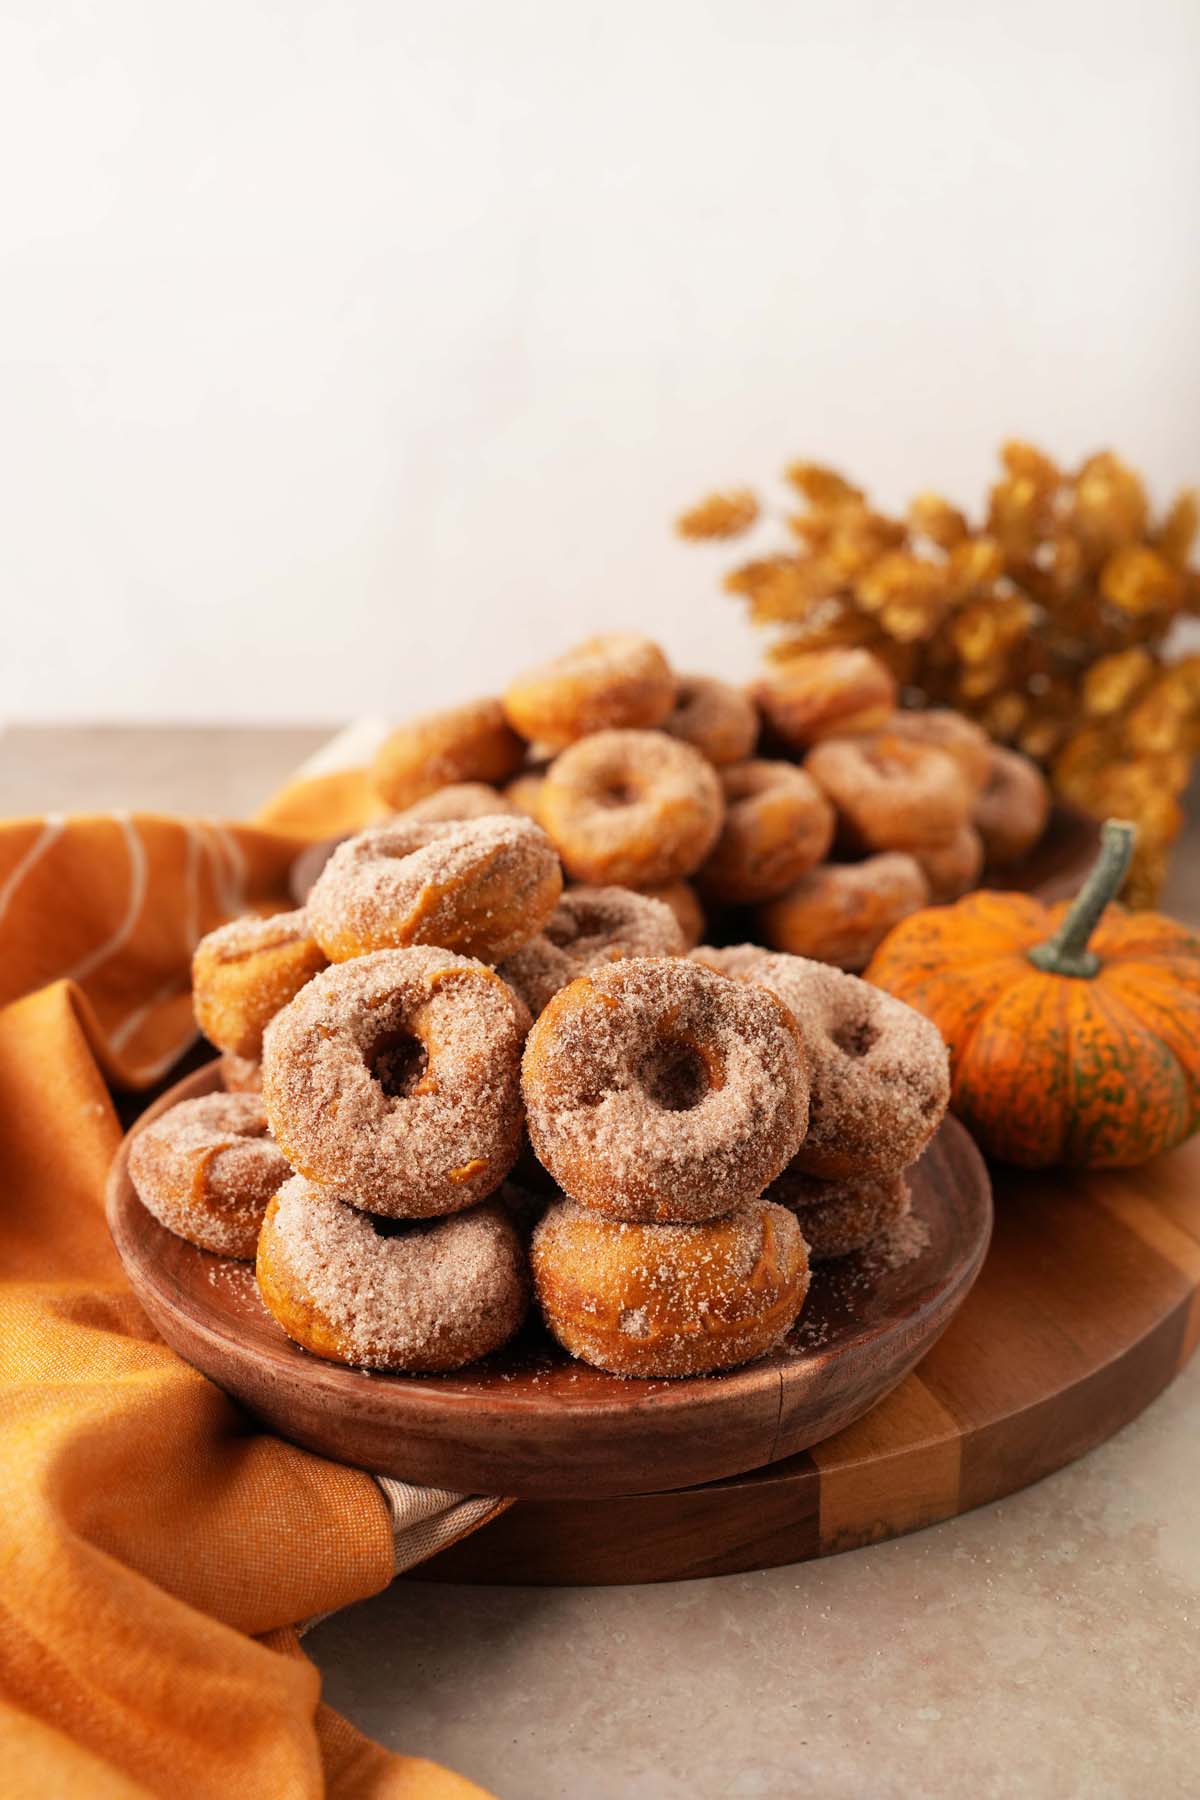
Frequently Asked Questions (FAQs)
Why did my cinnamon-sugar coating melt?
Baked goods contain natural moisture. When coated sugar sits at room temperature for hours, that moisture migrates to the surface and melts the sugar crystals. To keep that crunch, only sugar-coat what you plan to eat immediately, or opt for a glaze.
Can I freeze these baked donuts?
Yes! Freeze them plain without any coating or glaze. Let them cool completely, store them in a freezer-safe bag for up to 30 days, and reheat them gently in the microwave or toaster oven before adding butter and cinnamon sugar or glaze.
Can I use this batter for regular baked donuts in the oven?
Absolutely! Preheat your oven to 375°F and bake standard metal donut pan cavities for about 12 to 15 minutes until a toothpick inserted into the center comes out clean.
Recipe Swaps
Here is a handy recipe swap section with simple, stress-free alternatives for almost everything in your mixing bowl:
- Out of canned pumpkin? You can easily swap in an equal amount of homemade pumpkin puree or even canned butternut squash puree. Just make sure it isn’t pre-sweetened pumpkin pie filling! Pie filling has too much sugar and is already loaded with sugar and spices. If you use it, your donuts will taste way too sweet and mess up the whole recipe. It has extra thickeners and liquids added to make a pie. In your donuts, it will make the batter heavy, gummy, and soggy instead of light and fluffy. Plain pumpkin is just mashed pumpkin. It gives you all the great moisture and pumpkin flavor, while letting you control the sugar and spices. Always check the can label and make sure it says 100% Pure Pumpkin!
- No vegetable oil? Any neutral cooking oil will work wonderfully, such as canola oil, avocado oil, or melted coconut oil.
- Need a brown sugar substitute? If you only have white granulated sugar on hand, you can use it for the whole amount. Your donuts will still taste delicious, though they’ll have a slightly lighter color and less caramel flavor.
- Missing pumpkin pie spice? No problem! Make your own quick blend using what you have in your spice rack: mostly cinnamon, with smaller pinches of nutmeg, ginger, and cloves.
More Ways to Use Canned Pumpkin

Baked Pumpkin Donuts: The Ultimate Guide (Electric Donut Maker & Oven-Baked)
Equipment
- oven *adjusted to center rack position if using a donut pan
- 1 12-count donut pan *or electric donut maker
- large mixing bowl
- rubber spatula
- tablespoon-sized cookie sheet
- Measuring cups and spoons
Ingredients
Donuts
- 1 cup granulated sugar plus extra for the cinnamon-sugar coating
- ½ cup dark brown sugar
- 1 ¾ cups all-purpose flour
- ⅛ teaspoon salt
- 1 teaspoon baking soda check freshness!
- 2 teaspoons pumpkin spice
- ¼ teaspoon ground nutmeg
- 2 large eggs room temperature
- 15 ounces can 100% pure pumpkin puree Avoid pumpkin pie filling, which is overly sweet, gooey, and packed with extra thickeners that ruin the batter texture!
- 1 teaspoon vanilla extract
- ½ cup vegetable oil or canola, avocado, or melted coconut oil
Cinnamon and Sugar Coating
- ¾ cup granulated sugar
- 1 ½ tablespoons ground cinnamon
- ⅛ teaspoon ground nutmeg
Instructions
- In a large bowl, whisk together the granulated sugar, dark brown sugar, all-purpose flour, salt, baking soda, pumpkin spice, and nutmeg until fully combined.
- Add your room temperature eggs, 100% pure canned pumpkin, vanilla extract, and vegetable oil directly into the dry mixture. Stir gently with a spoon or spatula just until combined. Do not overmix, or your donuts will turn out dense instead of fluffy!
- * **Oven Donut Pan (Makes ~12 standard donuts):** Preheat your oven to 375°F and grease a standard 12-count donut pan (or two 6-count pans). Use your tablespoon-sized cookie scoop to pipe or spoon batter into the cavities, filling them almost to the top without overflowing the center holes.
- * **Mini Electric Donut Maker (Makes ~24–30 mini donuts):** Plug in your mini electric donut maker and let it preheat. Lightly grease the plates. Use your tablespoon-sized cookie scoop to drop a small scoop of batter into each mini cavity, being careful not to overfill so the center holes stay open.
- * **Oven Baking:** Bake on the middle rack at 375°F for **12 to 15 minutes**, or until a toothpick inserted into the center comes out clean and the tops spring back when gently pressed.
- * **Mini Electric Maker:** Close the lid and bake for **2 to 4 minutes** per batch until golden and springy.
- Let the donuts cool for a few minutes, brush them lightly with melted butter if desired, and toss them in your cinnamon-sugar mix. *(Note: If coated in cinnamon sugar, enjoy them the same day, as the natural moisture from the cake will eventually melt the sugar coating!)*
Notes
- Yield: Instead of 12 standard donuts, this full batter recipe will yield a much larger batch of mini donuts—usually around 24 to 30 mini donuts total.
- Baking Time: Mini donuts cook much faster than standard-sized ones! Keep a close eye on them and bake for only 2 to 4 minutes per batch until they spring back when gently pressed.
- Scooping: Your tablespoon-sized cookie scoop is still the absolute best tool for the job. One small scoop of batter per mini cavity is usually the sweet spot—just be careful not to overfill them, or the center holes will close up when they rise!
Leave a Reply