This easy Lemonade Icebox Pie recipe is sure to brighten your day! Featuring Lemon JELL-O, whipped topping, and a homemade graham cracker crust this dessert is a must-try. Taste-wise it tastes just like frosted lemonade and comes together so easily. This no-bake dessert is the perfect combination of creamy, tart, and sweet. Your taste buds will enjoy this vibrant, no-bake lemon dessert.
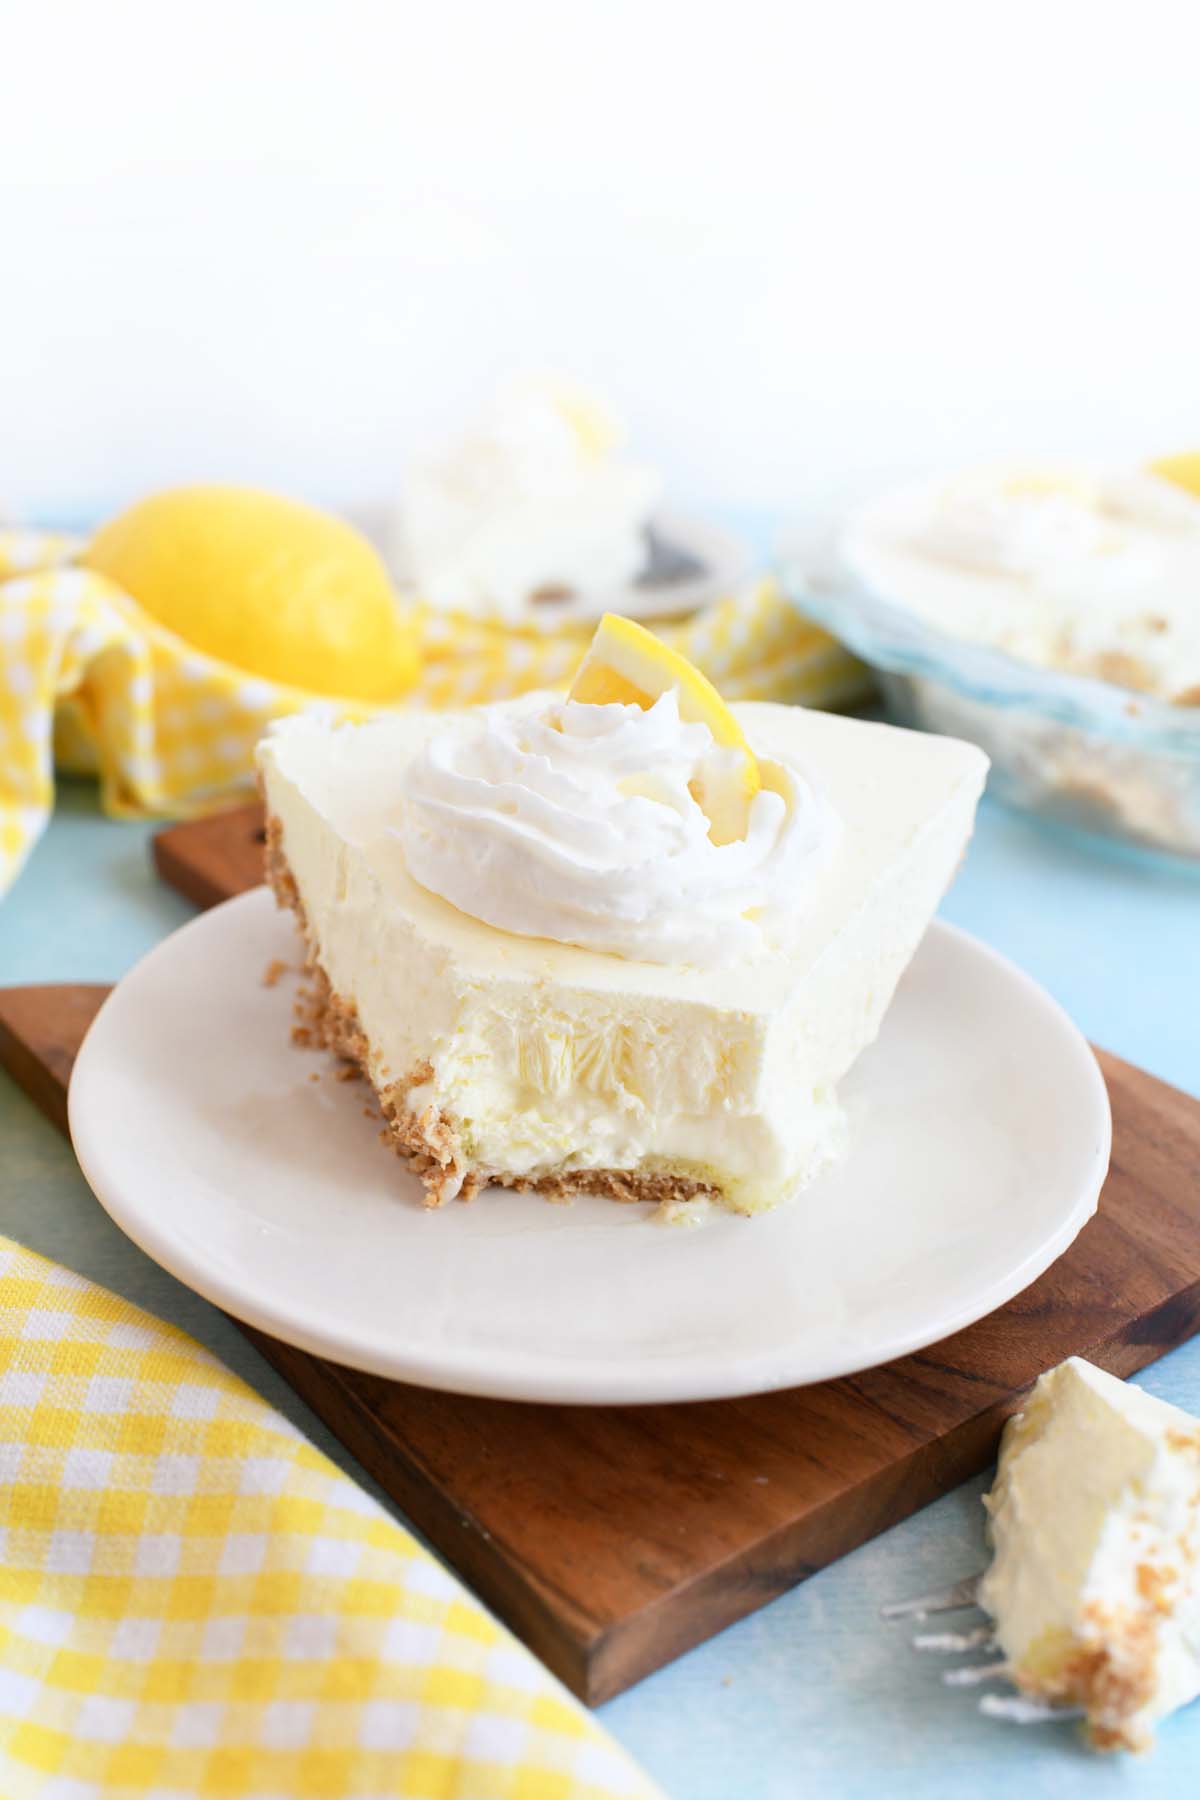
Prepare it, and store it in the freezer for a sweet, tangy, and creamy dessert for the summertime. This pie can be served with whipped cream, extra lemon, or additional graham cracker crumbs. Similar to our No-Bake Strawberry Gelatin Pie, and Frozen Strawberry Graham Cracker Desserts, the freezer helps this dessert to firm up and set –hence the “Ice Box” name.
Ingredients
Before starting this recipe, you’ll want to verify that you have the following ingredients:
- Lemon JELL-O – This ingredient provides a tasty lemon base, and helps provide the pie with a nice consistency.
- Cool Whip – Mixed in after preparing the JELL-O, this gives the pie a yummy taste, and fluffy texture.
- Graham Crackers – We used honey graham crackers to form the base of the pie crust.
- Butter – Unsalted, melted butter helps to bind the graham crackers and form the crust.
- Granulated Sugar – This will sweeten the crust, but can be skipped if you use cinnamon & sugar style grahams.
- Cinnamon – Adds a nice depth of flavor, but can be skipped if you use cinnamon & sugar style grahams.
- Whipped Cream/topping – Add this to the finished pie for a pretty look & taste.
- Fresh Lemon – You will use this for additional flavor, zesting, and garnish.
- Water (both iced and boiling) – These are part of the gelatin preparation.
Equipment and Supplies Needed
We used the following equipment and supplies to make this recipe. Items that are optional or can be substituted will be noted.
- Measuring Cups – To measure out the graham cracker crumbs, water, and ice cubes.
- Food processor – To finely process the whole graham cracker crumbs for the crust.
- Microwave-safe small bowl – To melt the butter to prepare the crust.
- Large mixing Bowl – This will be needed to prepare the lemon filling in.
- Zester – To zest the lemon.
- Knife & cutting board – To cut the lemon.
- 9.5″ Pie Dish Plate – We used a Pyrex one which is larger than most pie plates.
- Nonstick spray – This is crucial to prevent the graham cracker crust from sticking. Some will still stick, but it would be worse without the nonstick.

Recipe Tips
This recipe is easy to make if you know the right tips and tricks! Here are my tips for ensuring your Lemonade Pie comes out perfectly.
Pie Crust
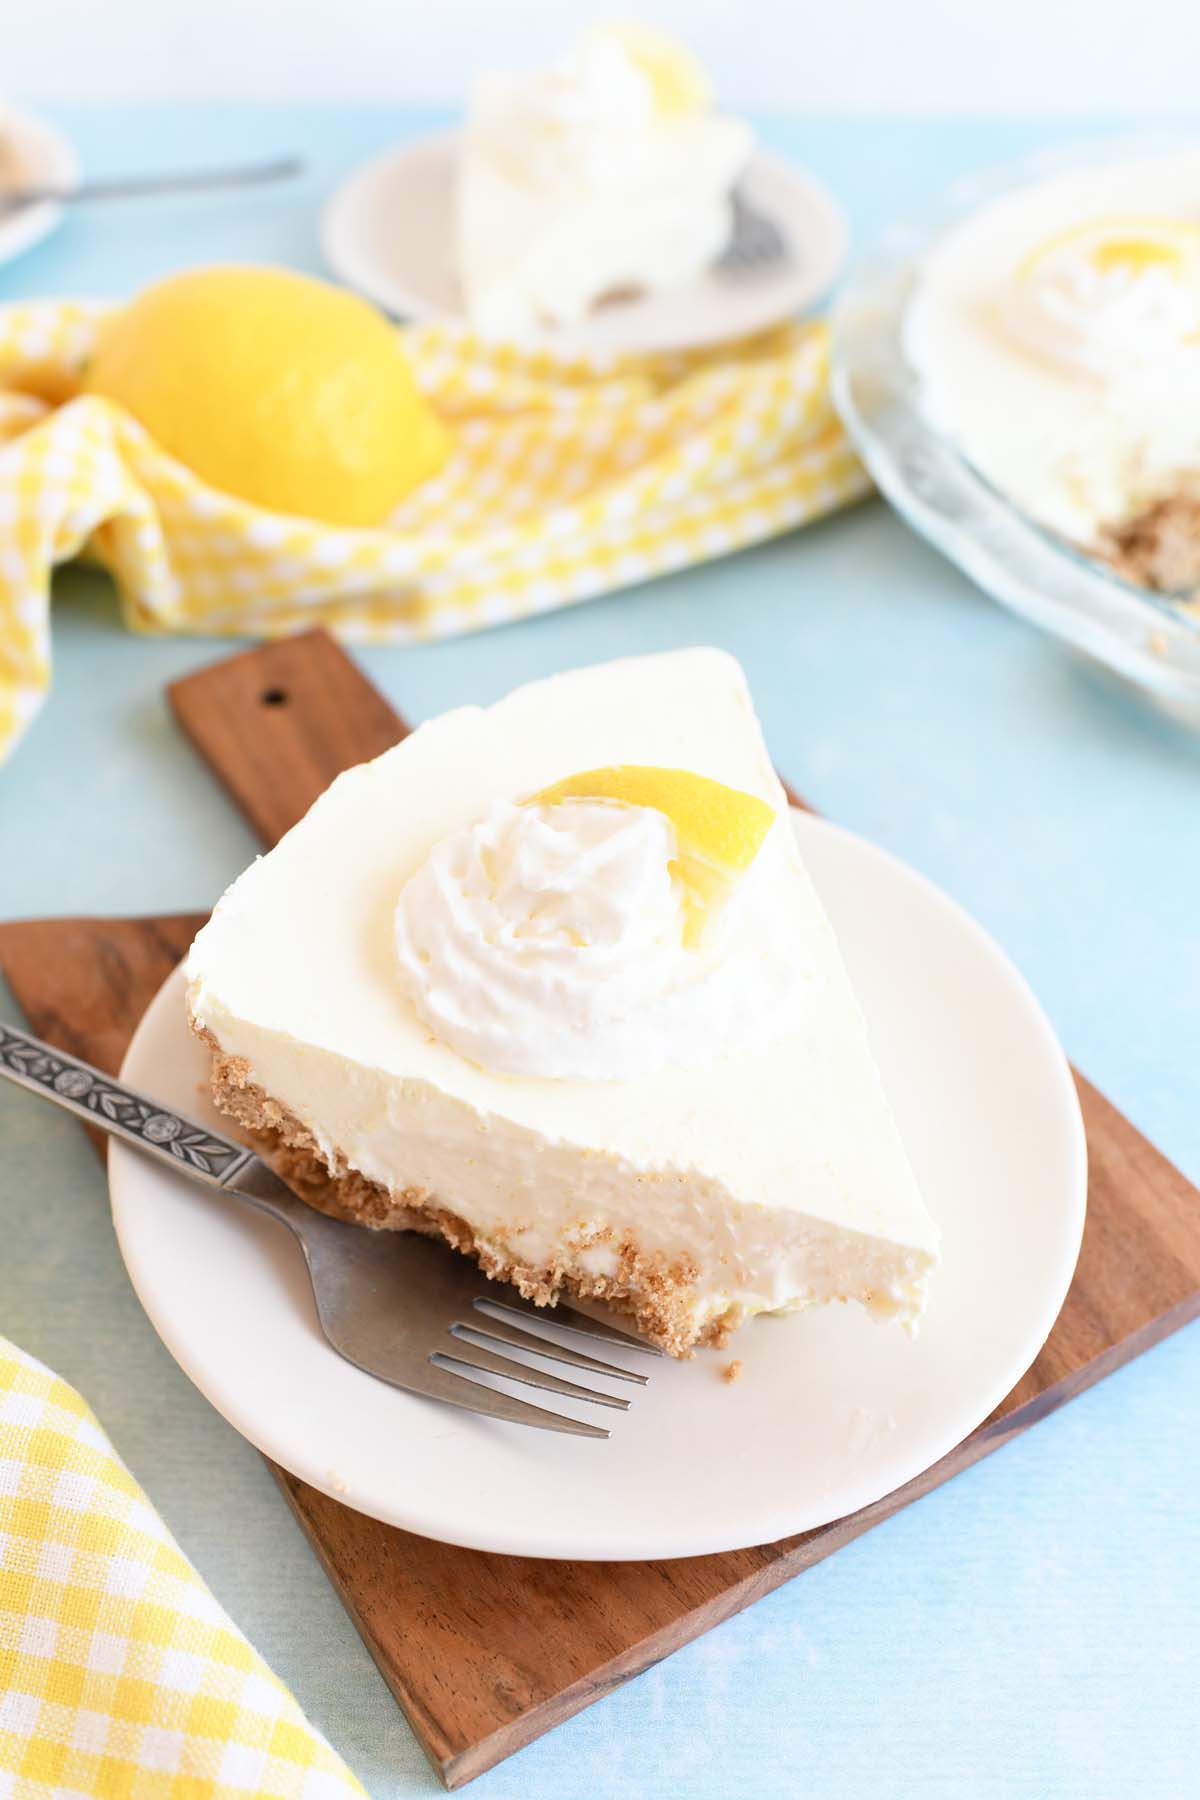
Since this filling makes a hefty amount, we decided to make our own crust in a 9.5″ Pie Dish. However, if you love even easier recipes, you can use a store-bought crust. Just note, you will likely have excess filling left. No worries though because you can freeze this for a small, refreshing dessert later on. Add the excess filling to a freezer-safe container and enjoy with a spoon at a later time.
Reducing the Sugar
If you would like to make this pie with less sugar you can do that easily with a few tweaks. Use Sugar-Free Cool Whip, Sugar-Free Lemon JELL-O, and skip the extra sugar in the graham cracker crust, or use a packet of stevia to sweeten.
Cutting this Pie
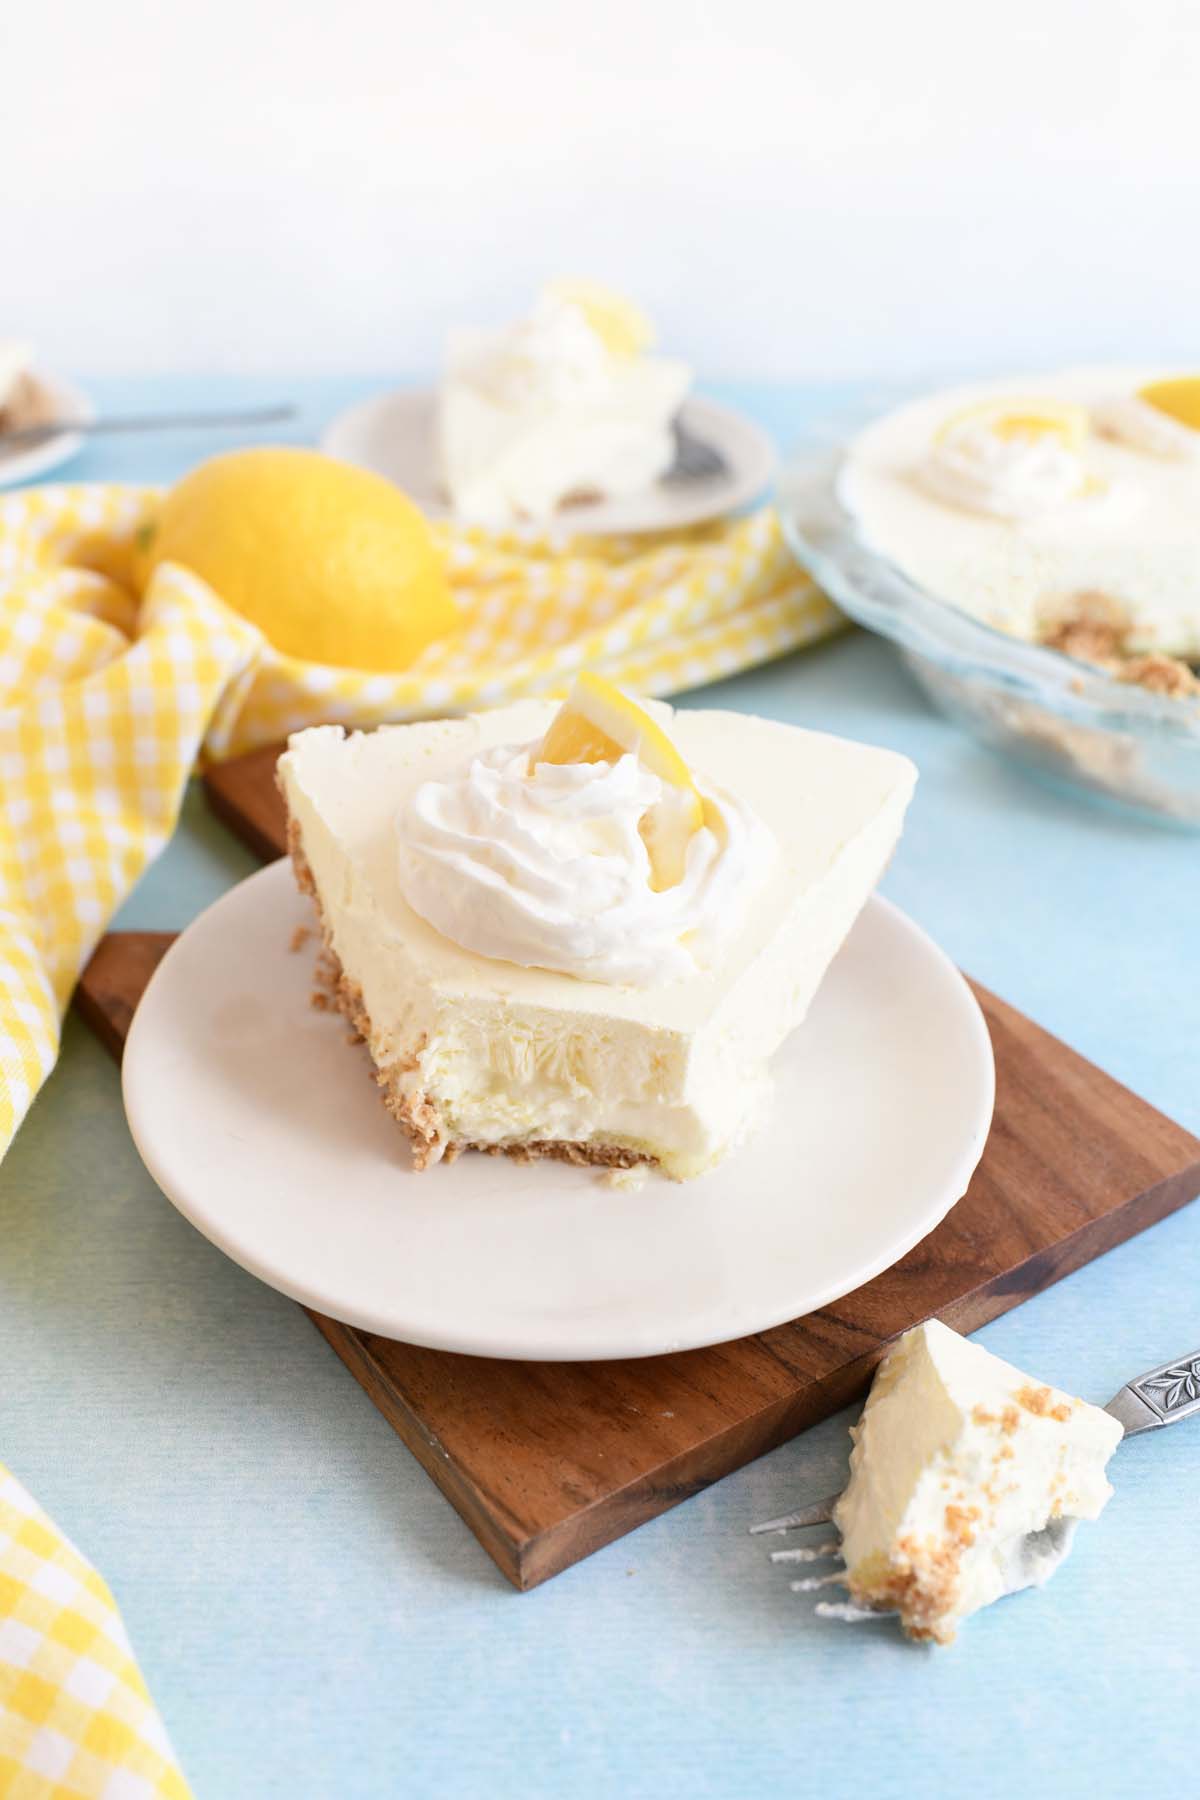
Cutting no-bake pies can be very stressful! If you are looking for perfect pieces of pie, this is not the dessert for you. Even if you use nonstick spray on your pie dish, chances are you will still have some graham cracker crumbs left behind. Pretty much every graham cracker based pie I’ve made over the years cut a wee bit messy.
However, there are some tips to slicing this. Most importantly, making sure this pie has been frozen for at least 3 hours is key. I froze mine uncovered directly on the freezer shelf. To see if your pie is ready to slice, gently press the center of it with your pointer finger. The pie should feel very firm–if it is, you’re ready to enjoy it. If not, return it to the freezer until it is done. You can use a wet knife to slice through this pie which will make it a bit easier. A wide spatula can also help lift the slices out much better than a pie spatula.
Storage
If you want to store your No-Bake Lemon Ice Box Pie, just follow these easy steps.
Freezer
Since this pie is a freezer or “ice box” pie, it only can be stored in the freezer. Once firm, wrap the pie with multiple layers of plastic wrap and foil. It will keep in the freezer for up to one week for best taste. If you can vacuum seal individual slices, they will last longer for up to 3 months.
Recipe
Follow the recipe below to make Lemonade Pie! This recipe makes 12 SERVINGS, but you can adjust the recipe card for additional pies.
No-Bake Lemon Ice Box Pie
Equipment
- food processor
- Microwave-safe small bowl
- measuring cups
- 9.5" Pie dish
- Knife & cutting board
- large mixing bowl
- Lemon Zester
- Whisk
Ingredients
Crust
- 1½ cups Honey Graham Crackers 15 whole grahams crushed in a food processor
- 3 tablespoons granulated sugar
- 1 teaspoon cinnamon
- 8 tablespoons butter melted
Filling
- 1 Lemon JELL-O Mix 3-ounce size
- 8 ounces Cool Whip standard-sized tub is 8 ounces
- ⅔ cup boiling water
- ½ cup chilled water
- ½ cup ice cubes about 6 standard sized cubes
- 1 teaspoon lemon zest
- 2 tablespoons fresh lemon juice
- additional lemon and whipped topping for serving optional
Instructions
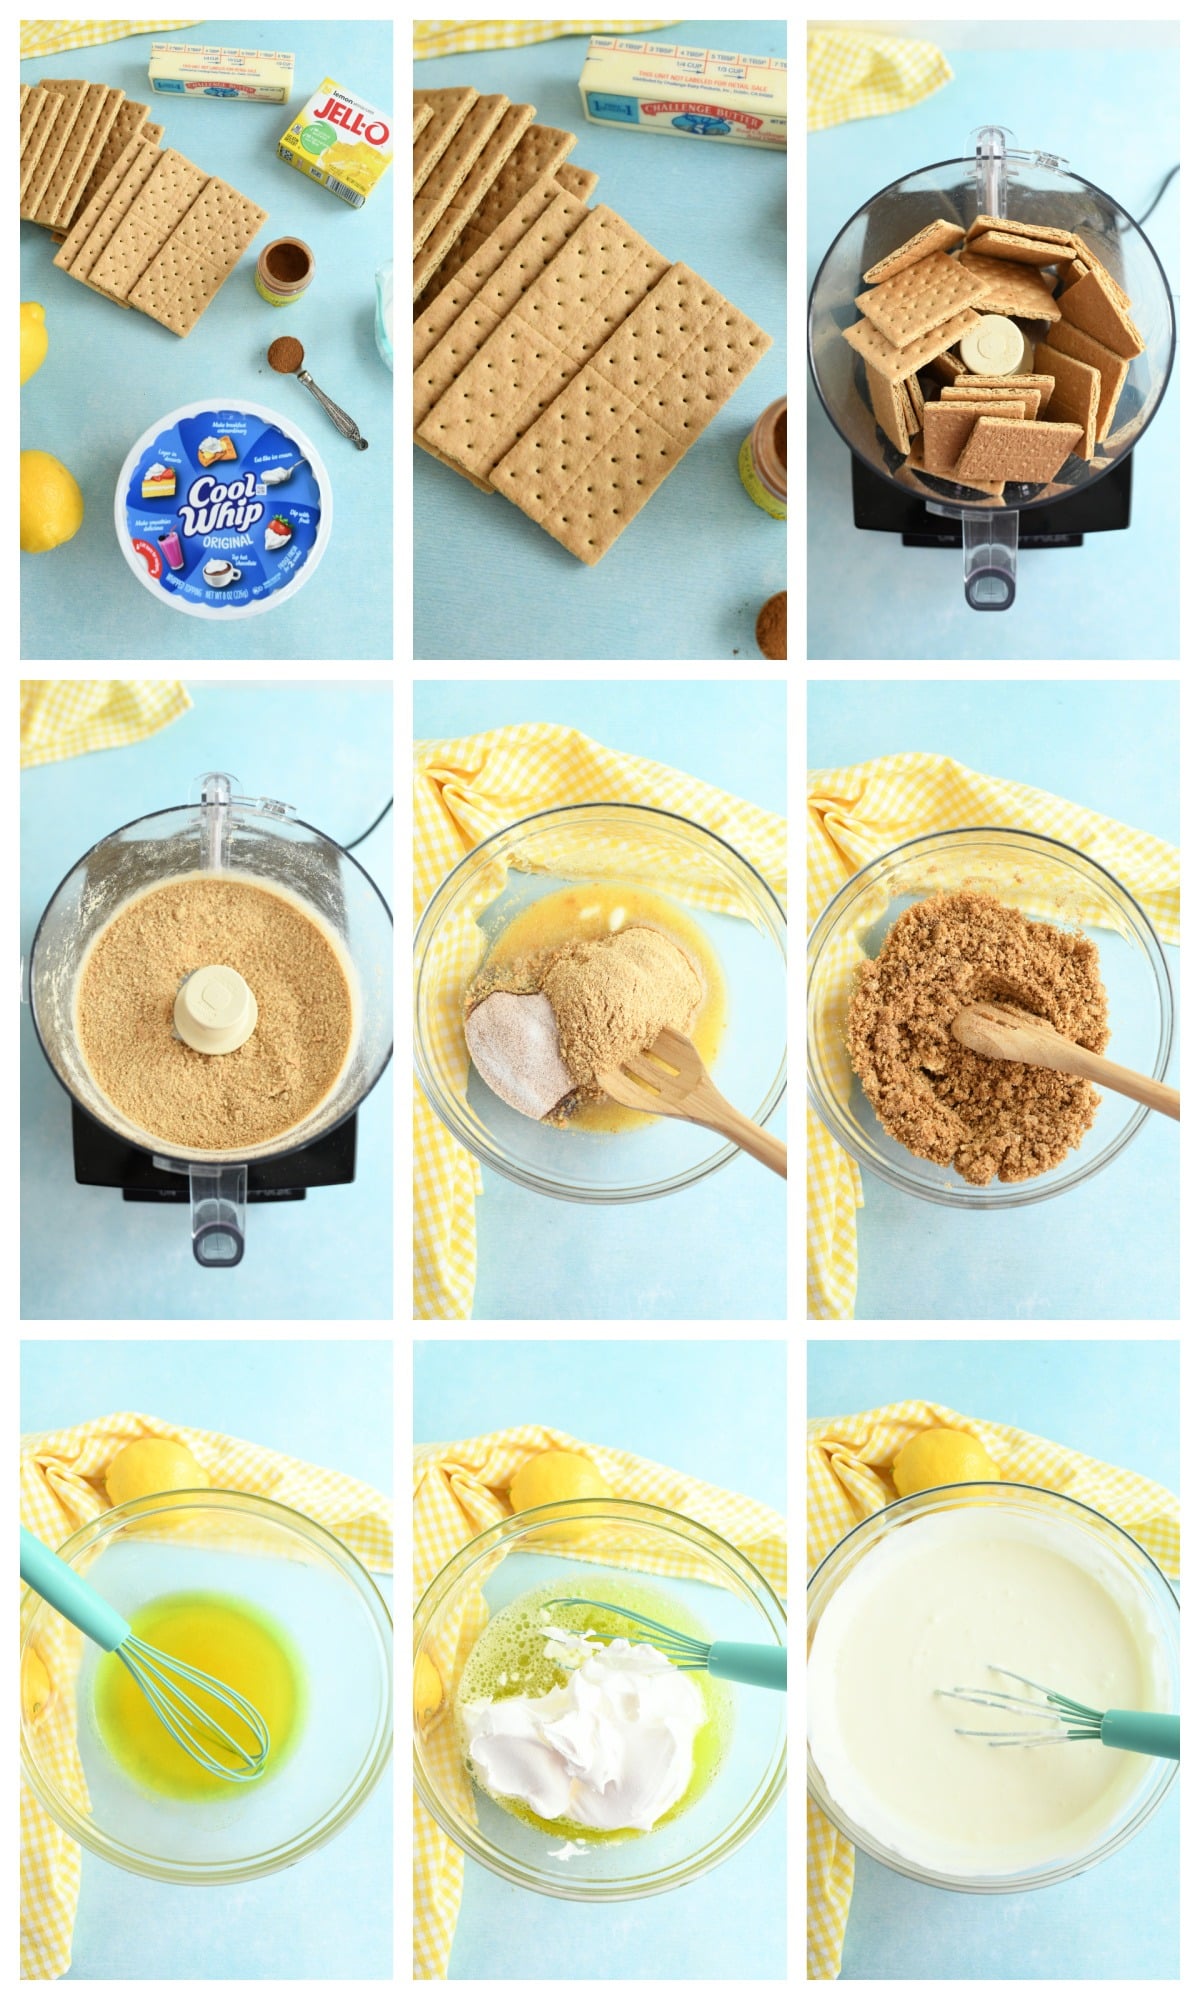
- Half graham crackers and add them to a food processor. Process until crumbs are fine and no longer chunky.
- In a bowl, combine processed graham cracker crumbs, melted butter, sugar, and cinnamon. Combine until all crumbs are moist. Spray your pie dish with nonstick spray. Add the crust mixture to your pie dish and firmly pat it in to form the crust. You'll want an even layer formed in the pie plate. Place the dish in the refrigerator for 1 hour to firm the crust.
- Zest lemon and set aside 1 teaspoon of zest. Add the lemon JELL-O packet, and ⅔ cup of boiling water to a large mixing bowl. Stir continuously until powder is dissolved. Add in the ice water, and cubes, and stir. JELL-O will begin to thicken. Add in lemon juice, and zest and stir. Carefully fold in the Cool Whip topping and lightly mix. Store the mixture in the refrigerator for 30 minutes to fluff up.
- Once filling is fluffy, add it to the chilled pie crust. Store the pie directly on the shelf of your freezer where it is stable and unable to tip over or spill. Chill for 3-4 hours or until pie feels firm in the center when gently pressed.
- Carefully slice pie with a wet knife for easier serving. Add additional lemon wedges and whipped topping to the pie before serving.


Leave a Reply